

Roomba is a very good brand of home robotics, I own one Roomba 6 and one old Roomba 5th generation (560).
In these years of use of course I had to repair it sometime.
The battery of course usually last about 1 to 2 years, I had a wheel unit broken, had to clean the sensors, a couple of lateral brush motor broken and now, a main brush defective.
The problem manifested one day blocking the Roomba after few minutes of cleaning.
The diagnostic simply said "check and clean Roomba brushes" and of course no blockage on the brushes.
Removing the brushes and cleaned it up didn't solve the problem.
So remained only one thing to do : replace the main brushes block.
The Roomba 5th generation has a very different philosophy if compared with the previous generations.
It introduced the idea to change an entire defective block rather than repair all the unit.
So it has the wheels, the main brushes block and lateral brush, i.e. the components subjects to tear and wear, easy changed without the need to take apart all the machine, like the previous generations.
So when a component fails (not if, but when, is only matter of time) is fast and easy to just buy a replacement and substitute the failed one.
With the replacement everything restart to work nicely.
So instead to trash away in the junk yard the defective brushes block I decided to service it.
The problem
I own a Roomba since the 2002, started with the 3rd generation, then the forth, the fifth up to now with a Roomba i6.
In all these years I serviced them and one problem that recursively appears is a blockage of the gears that drive the brushes.
Hairs, dust, dirt slowly but surely enter in the gearbox.
There are some sealing but is not fully sealed.
With time and use the dirt pile up in the gearbox and sometime reach a level that interfere with the gears, increasing the resistance for the gears and thus the energy requirement of the motor.
The electronic circuit of the Roomba monitors how much current the motor uses in order to detect obstacles in the brushes, like a toy or a nasty wire or any object that can "block" the brushes.
The circuit blocks the Roomba notifying the user to clean up the brushes.
When the gearbox has so much dirt inside, the motor uses more current than usual and the safety monitoring circuit blocks Roomba.
The solution
Well, the solution is easy.
Clean up the main brushes gearbox.
What we need ?
A Philips screwdriver, a small pliers, some cleaning wet sheets, no fear to dirt yourself and lot of patience :)
 |
| The main brush unit to clean up |
 |
| On the left the two main gears. Usually the "block" of dust and hairs blocks these two main gears but to remove that is necessary to take apart all the unit. |
 |
| The unit after removing the exterior support (the blue part on this unit). Better to remove also the motor and clean it up. The motor has a gearbox too but unless the brushes are not rotating, is usually OK. |
 |
| Of course since I open the unit I end up to clean EVERYTHING, so I also remove the dust sensor and clean all the pieces. Very important to put the screws somewhere ordered since there are lot of screws and with different size and length |
 |
| The gearbox after the cleaning |
 |
| The gears and electronic of the gearbox |
 |
| The gearbox cover after the cleaning. |
Once cleaned, is necessary to put back together.
In the gearbox is necessary to add some silicon grease under and over the gears.
Another case
I have another main brush box defective.

It "could be" the same problem of the previous brush unit but is possible the damage is bigger in this case.
This is one of the oldest brush boxes I did use and the problem was not having the brushes rotating.
This is bad because it could indicate the motor simply burned out, however manually turning the brushing shows an enormous resistance, indicating that there are blockages on the gearbox.
So anyway the first repairing step is to take apart the unit, clean up the gearbox and then check the motor.
This is a video showing the taking apart of the unit and examination.
You can buy a new unit rather than specific parts.
You can see the damaged parts at the end of the video and on some pictures below.
A brass support melted little bit, but enough to don't be any more "round" allowing so the gear to move too much during the rotation.
 |
| The brass support melted for the heat, notice the missing part on the top |
 |
| The support of the two gears poles is melted. See the one still OK on the top. The poles are not supposed to come out. |
 |
| Removed one of the poles, hair are melted in the plastic due the heat |
 |
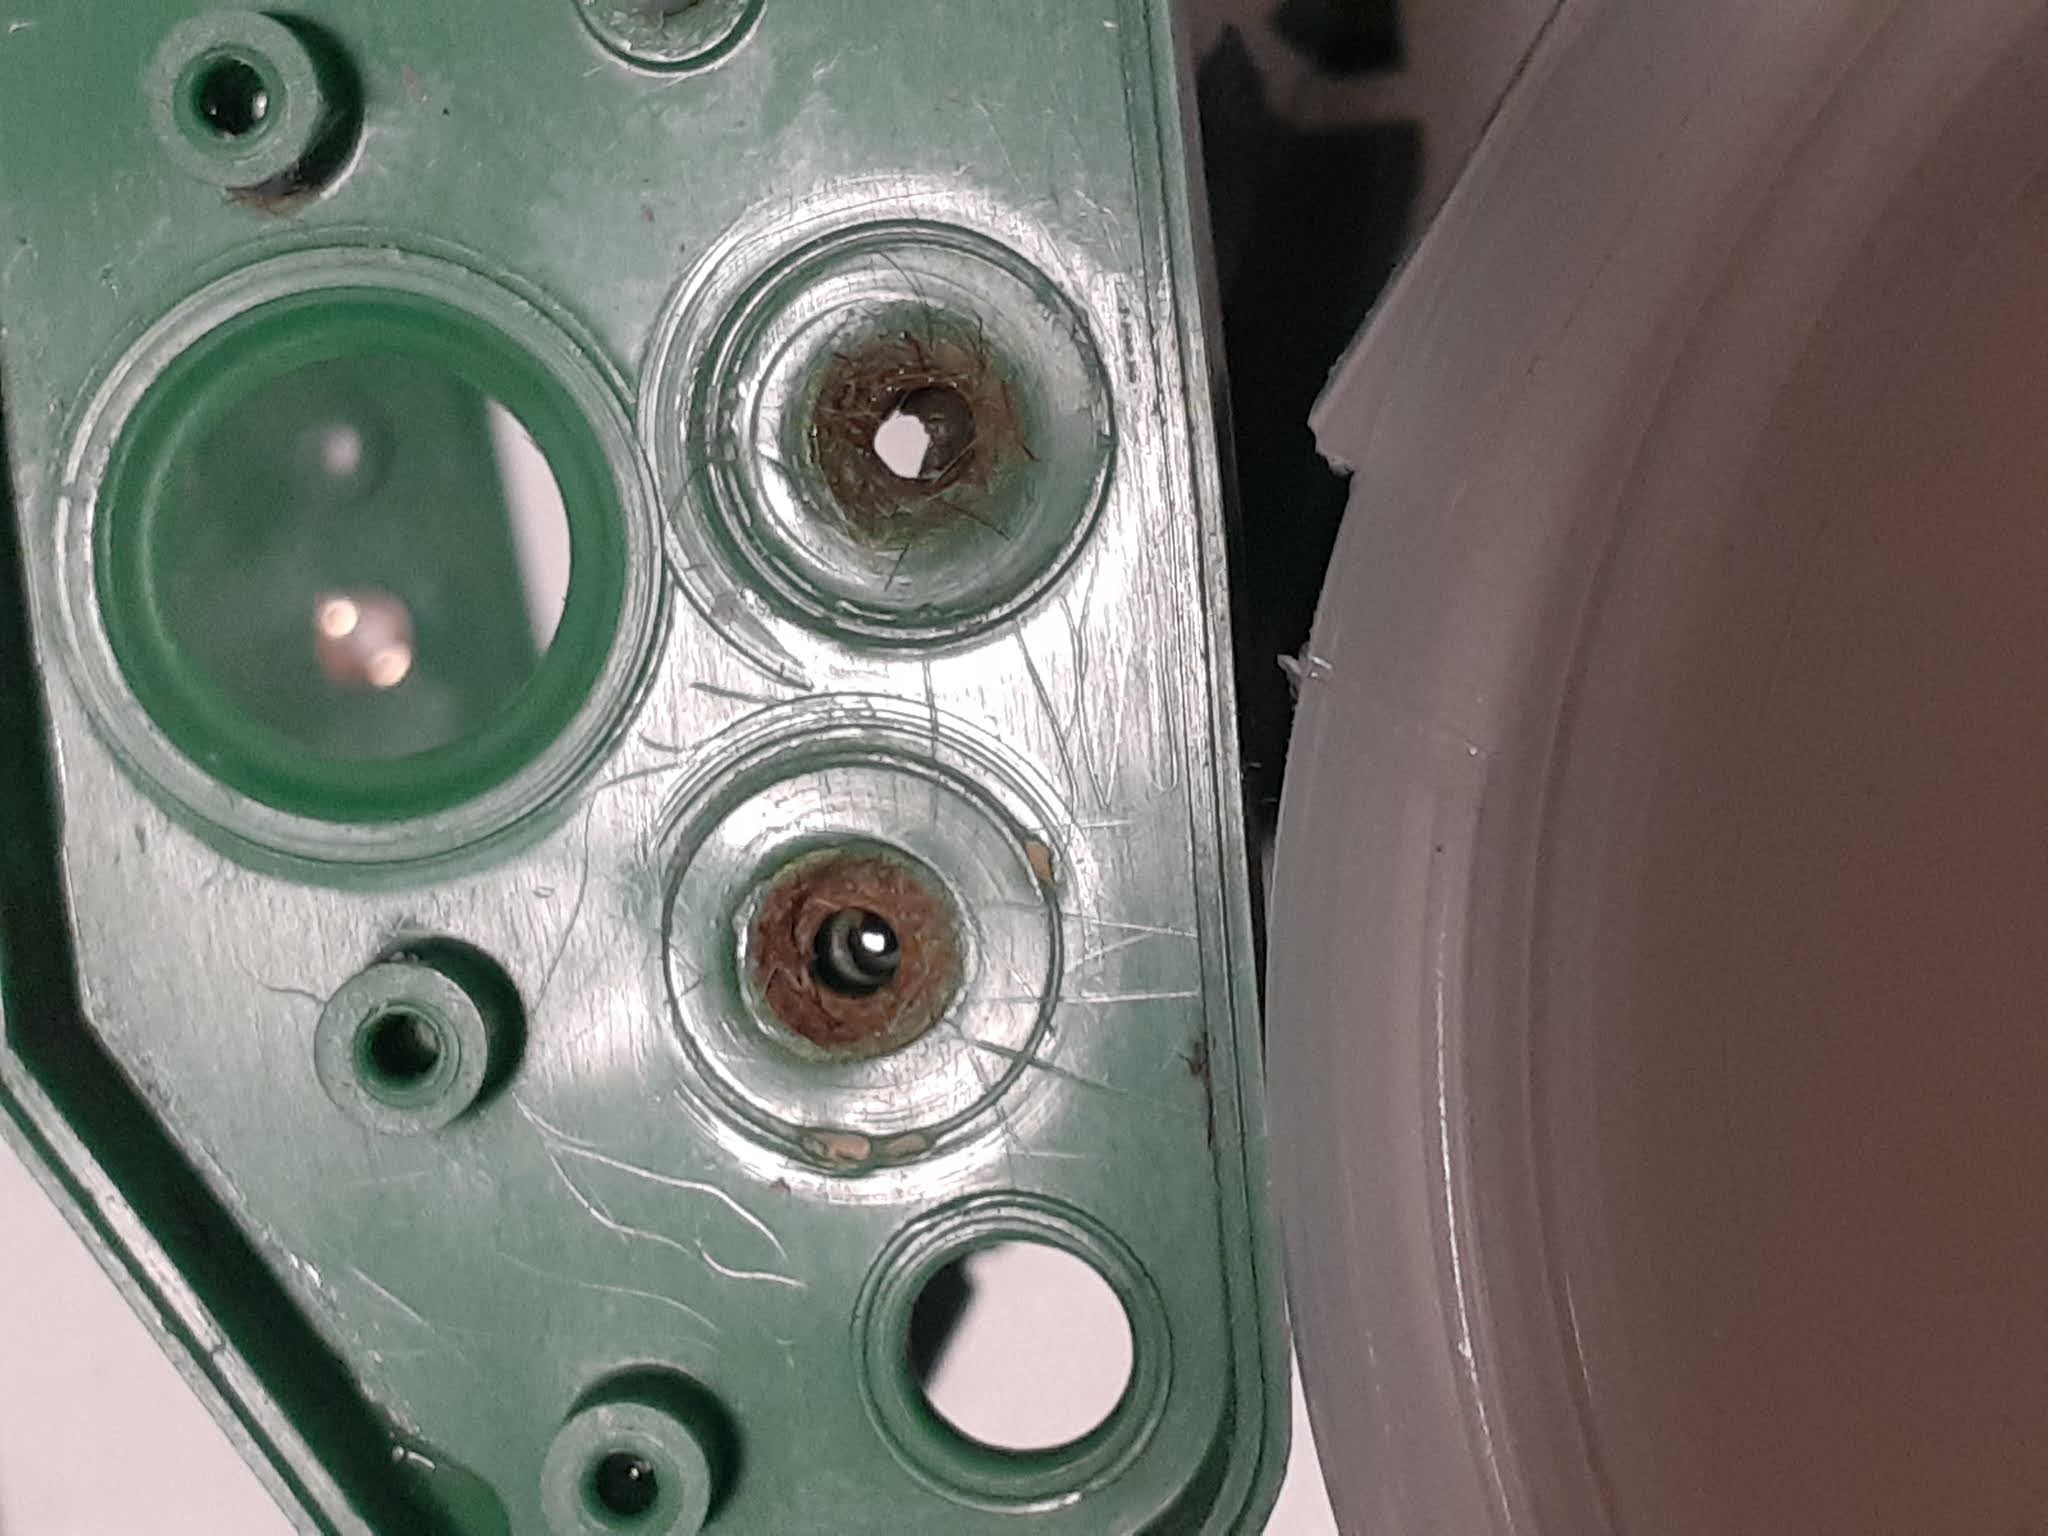
| This gear has melted hairs in the middle and the central hole is bigger |
 |
| The other side of the gear is even worse |
The grease originally there totally become dry, increasing the friction and thus the heat generated.
No comments:
Post a Comment