
The original configuration had 4 GB of RAM and 2 HD SATA in RAID 1 of 2 TB,
with the upgrade I'll bring the RAM up to 32 GB (the maximum RAM this 7 years old mother board can handle) and I'll install 2 4 TB SATA HD in RAID 1 or 2.
Note !
This specific server, the System76 one, is for the moment abandoned for problems to the fans.
Not having the necessary time to find a fix for the problem (see the Fan noise problem article) I decided to buy and install a new server, an HP ProLiant DL360 - This article doesn't apply to the new server and remains here only for reference.
Not having the necessary time to find a fix for the problem (see the Fan noise problem article) I decided to buy and install a new server, an HP ProLiant DL360 - This article doesn't apply to the new server and remains here only for reference.
Opening the server
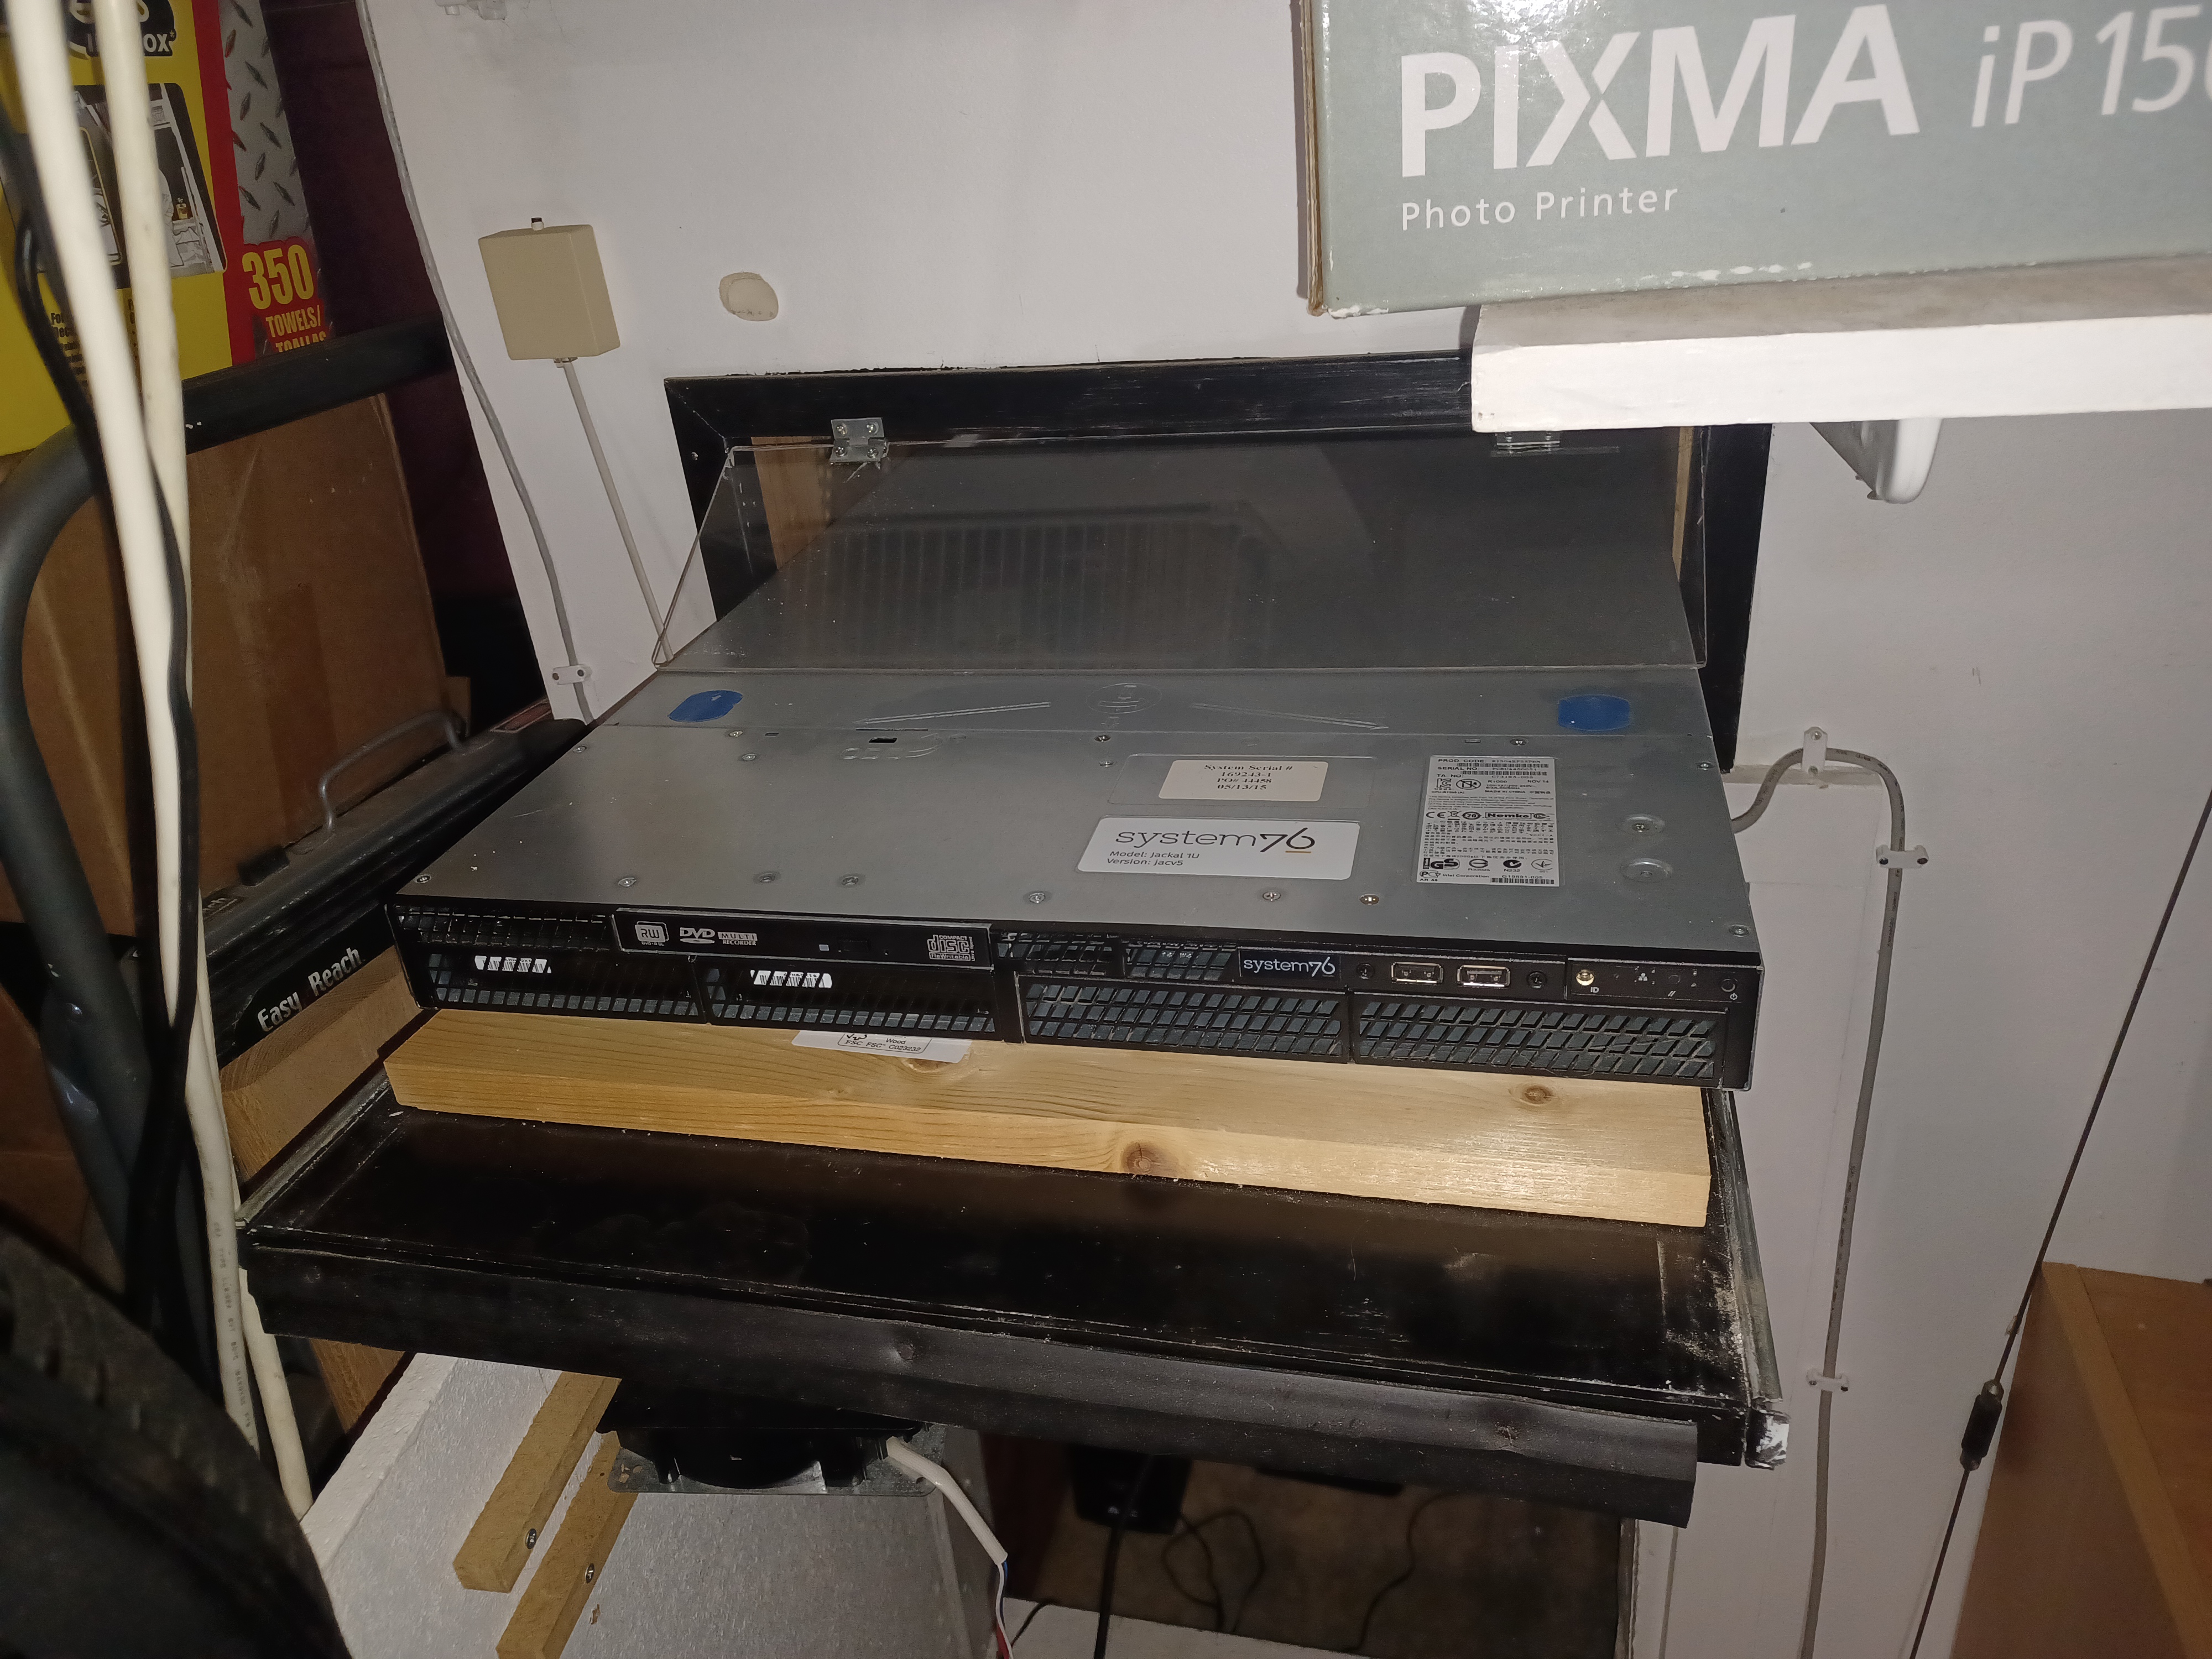 |
| Extracting the server from the "server room" |
To open it there are 4 screws that need to be removed from the top.
After doing that the top can be removed, exposing the motherboard and the frontal area where the HDs are installed.
Useless to say ... disconnect EVERYTHING before opening the case and be sure to discharge yourself before to touch anything inside.
At this stage I did not yet installed the PiKVM thus I just connected a keyboard with an embedded trackball and an old monitor to the server on the table.
I need to be on the machine anyway to connect/disconnect cables so it doesn't make sense any remote operation.
IT is amazing to note that the inside was practically clean !
No dust accumulation on heat sink or power supply or any place actually !
Amazing ! 7 years working without any dust accumulation. Kudos to the System76 engineers !
Installing the RAM
There are 4 slots on the mother board for DDR3 unbuffered RAM.Each slot can hold modules up to 8 GB.
I was able to order 4 DDR3 8 GB unbuffered RAM for a total of 32 GB.
The RAM installation is quite straightforward.
There is a plastic "funnel" that force the air pushed by two fans against the CPU heat sink that need to be removed, exposing thus the RAM slots.
 |
| View of the server, the RAM slots are below a plastic "funnel" |
Once removed the funnel the installation proceeded without any problem, filling up the 4 slots with the 8 GB modules
Installing the HD
This model doesn't have the hot swap cradle for the HD, is necessary to unscrew the bay one by one.
The two original HD, that worked basically for 7 years in a quite harsh environments, were manufactured by Seagate.
 |
| The HD bay area. The red cables are coming from the RAID board |
There are 4 available bay on the server, and they are connected to a specific RAID card capable to support 4 HD.
In theory thus I should be able to expand the system to 4 HD and eventually use a RAID configuration more safe and reliable than the RAID 1 used so far.
At the moment the plan is to use 2 HD with 4 TB each in RAID 2 if possible.
After removing the old 2 TB HD I did install the 2 new 4 TB HD and ... surprise !
One HD was totally dead !
I was able to fire up the server that did recognize the new HDs but since one was marked as dead it was impossible to complete the RAID set up.

Very disappointing !!
I had to order a new HD (I'm using Seagate IronWolf NAS edition) and had to wait for the arrival to proceed !
With only two hard drive the old card can only offer that !
Note : I did contact Seagate and discovered that the new broken HD was still under warranty and they proceeded immediately with the substitution procedure. We'll see how it ends up but so far I'm quite impressed for the Seagate service.
Configuring the machine
Once installed RAM and HD, it was possible to "fire up" the machine when still open on the table and perform the first set of configurations.
The things to do were :
- verify the RAM is OK ✅
- verify the HD are recognized ✅
- configure the RAID connection ✅
RAID Utilities
When the server is turned on, a series of BIOS utilities are starting.
The first one is related to the RAID card and any change in the previous configuration is notified and eventually it is asked to run the configuration part of the utility.
Re-configuring the RAID imply to lose all the data.
The RAID utility is creating a virtual HD associated to the real HD in the machine and determine what level of RAID is possible with the installed hard drive.
The utility (and RAID card) is quite old now, from 2014 !!!
No comments:
Post a Comment