

To have some fun I did buy a couple of gadgets from Pimoroni, electronic badges with a 2.9 inch eInk display.
There are two flavor of the board, one basic (Badger 2400) and one with connectivity (WiFi - Badger 2400W).
A nice way to start to play with the Pico series from Raspberry.
There are two flavor of the board, one basic (Badger 2400) and one with connectivity (WiFi - Badger 2400W).
A nice way to start to play with the Pico series from Raspberry.
For some time I did plan to design an electronic badge, so having something "ready off the shelf" to play with can give me some experience and ideas about how to design eventually mine.
The goal is to be able to put down some specifications for "my" personal badge and of course having fun playing with this new toy.
There are many ways to work with this gadget as explained in the Pimoroni page, the one I choose to follow is the MicroPython one.
Environment Preparation
In order to work on the badge we need to :
- install Thonny (MicroPython IDE)
- under Linux best choice is to install it via Snap
- connect the Badger via USB to the computer
- open Thonny
- select 'MicroPython (Raspberry Pi Pico)' as interpreter by clicking on the box at the bottom right
If everything is OK in the shell area should appears this :
I did find that some USB ports (at least on a Mac) doesn't recognize the board.
In case of problems before to start Klingon swear words, try to use different USB ports.
Also in some cases is possible to have to manually select the USB port connected to the Badger - to do so - in Thonny click on the MicroPython (Raspberry PiPico) on the right bottom corner
- click on Configure Interpreter
- on the Port field, select the right port
At this point is better be sure to use the latest MicroPython image on the board.
To do so is enough to download a uf2 file provided by Pimoroni that contains the latest MicroPython image and the latest version of applications.
To do so is enough to download a uf2 file provided by Pimoroni that contains the latest MicroPython image and the latest version of applications.
- download the latest uf2 file for the Badger 2040 (or Badger 2040W) : Embedded Enviro Escapades
- Set the board as driver - there is a specific set of buttons to press to force the board in download mode. Typically the bootsel button
In this mode the board is seen to the host computer as a disk drive.
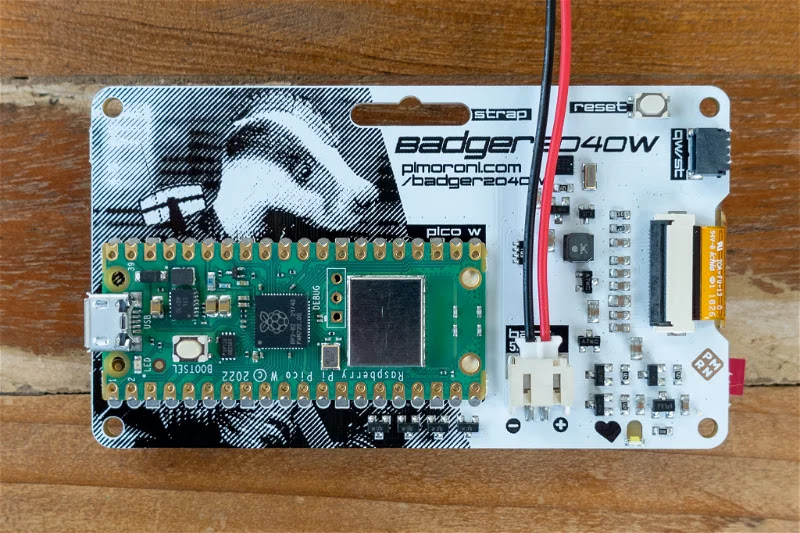
Badger 2400 back - two buttons - reset and bootsel 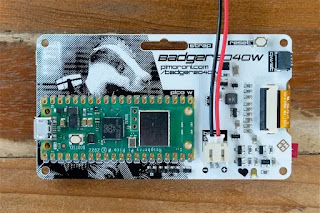
Badger 2400 WiFi - one button on the board (bootsel) and 1 button on the badger, reset - Copy the uf2 file on the board root

That's it, after the downloading the board will reset itself and the MicroPython and applications will be up and running.
At this point will be possible to connect the host via Thonny to work on the board.
At this point will be possible to connect the host via Thonny to work on the board.
The Badge
The uf2 package contains already different small applications, one of them is the "badge".
There is of course a launcher, that allows to choose a specific application using some buttons present on the board.
 |
| Badger 2400 WiFi board |
There are three buttons on the bottom (a, b and c) and two buttons on the side (up, down).
In the picture above is shown the launcher. Up/Down buttons will select a page with 3 choices and the buttons a,b and c will select one of the three.
To return to the launcher just press together the a and c buttons
In the picture above is shown the launcher. Up/Down buttons will select a page with 3 choices and the buttons a,b and c will select one of the three.
To return to the launcher just press together the a and c buttons
Resources
- Official site : Pimoroni
- Pimoroni : Badger 2040
- Pimoroni : Getting started with Raspberry Pi Pico
- Pimoroni : Getting started with Badger 2040
- Official site : MicroPython
No comments:
Post a Comment